
Trends
Sep 5, 2026 5 min read
10% Discount For New CustomerPromo Code: NEW10Free Shipping On Order 99.99
Our Deals & Bundles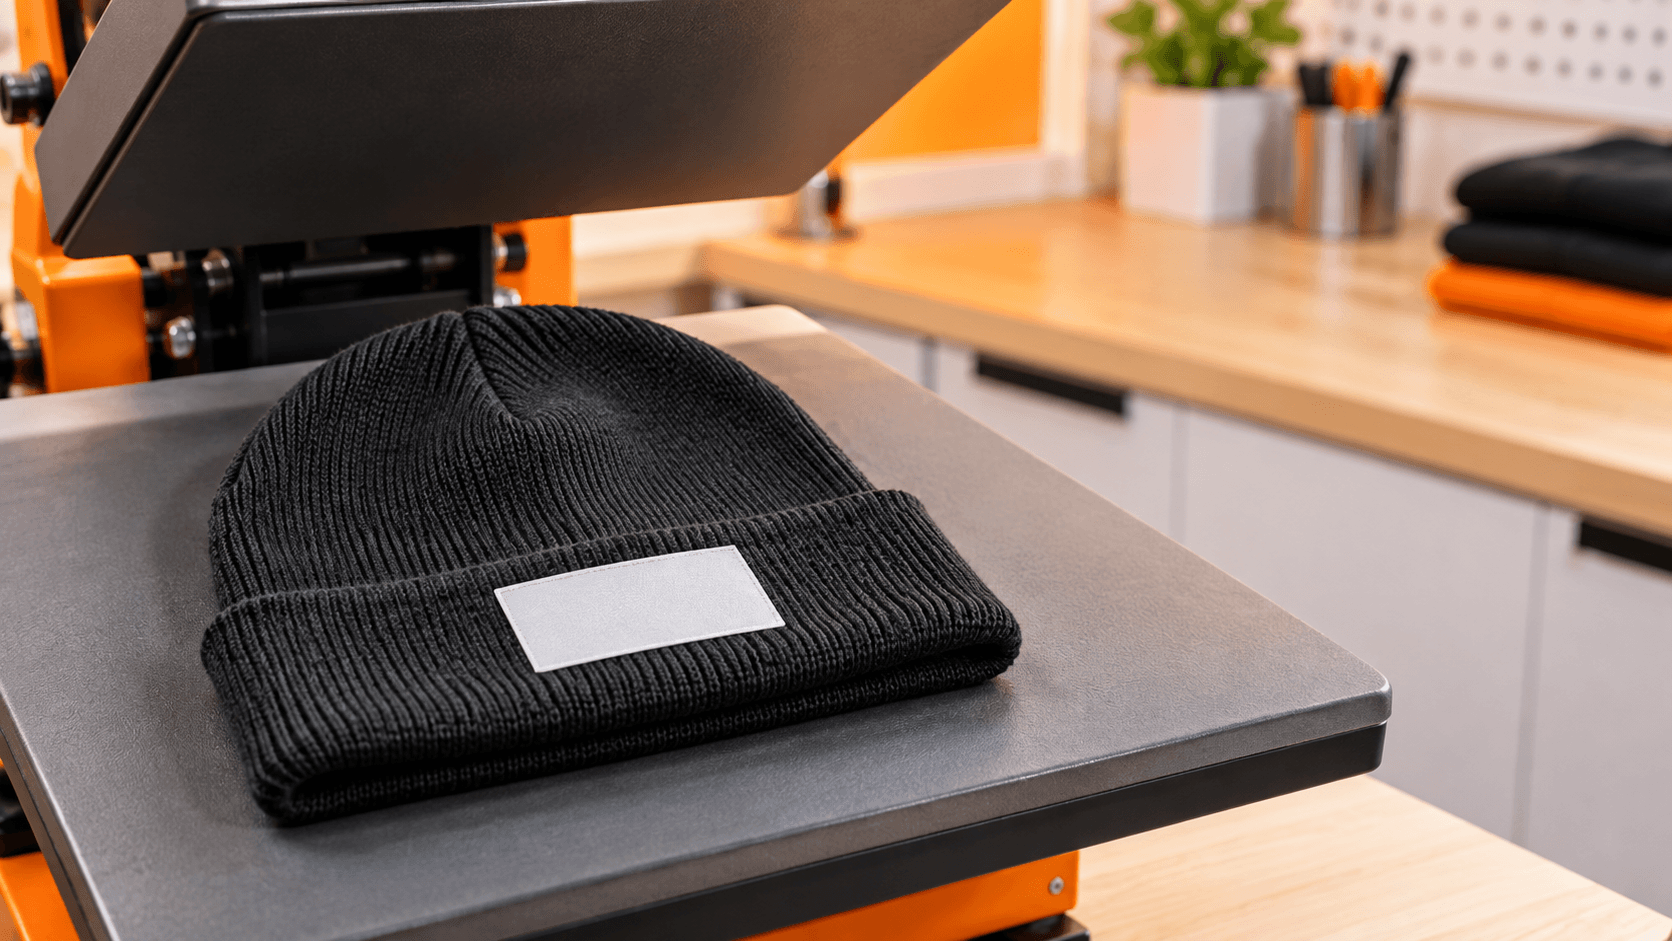
How to Heat Press a Beanie: A Step-by-Step Guide
A personalised beanie is a practical way to put your logo on winter workwear. Heat pressing one takes a little more care than pressing a T-shirt: the knit stretches, the folded cuff adds thickness, and some beanie fibres are sensitive to heat.
Here’s how to get a clean, secure result.
What you’ll need
1. Check the beanie and transfer
Read the beanie’s fibre label and the transfer supplier’s application instructions before setting the press. Acrylic, polyester and cotton blends can respond differently to heat. Test one beanie first, particularly when using a new blank or transfer.
Choose a logo that fits comfortably on the cuff. A compact, bold design usually works better than tiny lettering across a stretchy knit.
2. Prepare a flat pressing area
Fold the cuff evenly and place a small pressing pillow inside the beanie, directly behind the logo position. This raises the print area above the surrounding seams and layers, helping the press apply even pressure.
If the beanie has a pom-pom, keep it outside the heated platen.
3. Position the design
Centre the transfer on the front of the cuff and check how it looks while the beanie is worn, not just while it lies flat. Secure it with heat-resistant tape if it may shift.
4. Press according to your transfer instructions
Set the temperature, time and pressure specified by your transfer supplier for that transfer and fabric. Pressing settings vary widely: a low-temperature transfer made for acrylic beanies may need very different settings from standard DTF or HTV.
Keep the pressing surface level and avoid excessive pressure that could flatten the knit. Follow the supplier’s hot-peel, warm-peel or cold-peel instructions exactly.
5. Inspect and finish
After peeling the carrier, check the edges and fine details. If your transfer instructions call for a second press, cover the design with a protective sheet and follow the recommended finishing time. Let the beanie cool before stretching or packing it.
Common problems to avoid
Edges lifting: Check that the cuff was flat, pressure reached the whole design, and the correct peel method was used.
A flattened patch: Reduce unnecessary pressure and use a smaller pressing pillow that supports only the decoration area.
A distorted logo: Keep the cuff relaxed while positioning the transfer. Stretching the beanie before pressing can change the shape of the finished design.
Heat marks or fabric damage: Stop and check the fibre label and transfer settings. Always trial a new combination before producing a full order.
Want branded beanies for your team?
At Artistry Workwear, we create personalised workwear for businesses, teams and events. Send us your logo and the quantity you need, and we’ll help you choose a suitable finish for your beanies.
Contact Artistry Workwear to discuss your order.